Chemical anchor lagaya… but strength nahi aaya? Problem installation mein hai.
Real Site Issue
Many times, product is correct.
But installation is wrong.
What Goes Wrong
❌ Hole cleaning skip
❌ Chemical mixing improper
❌ Rod insert wrong
❌ No curing time
Why Installation Matters
Chemical anchors don’t work like normal anchors.
They depend on:
👉 Bonding with concrete
If bonding fail → anchor fail
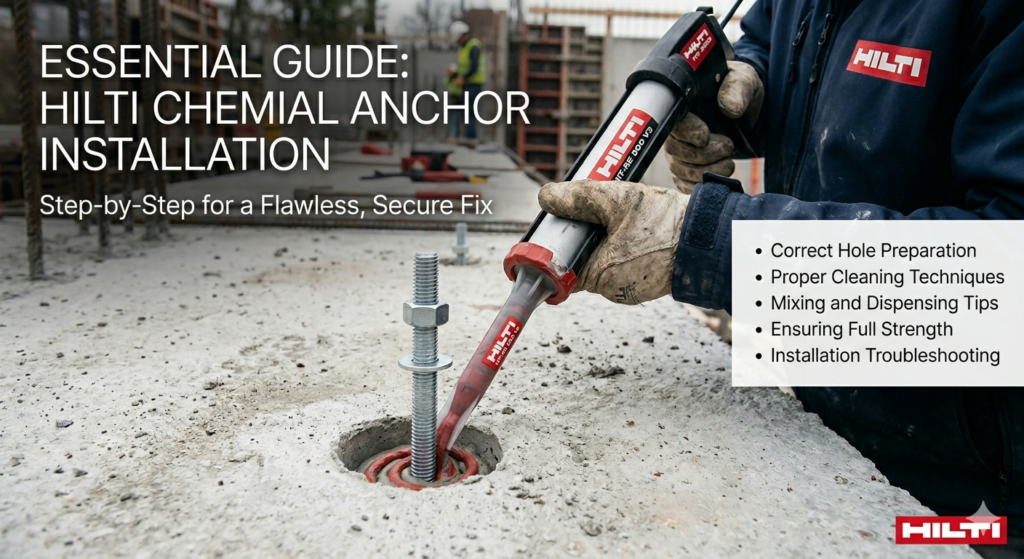
Correct Installation Process
Step 1: Drilling
Use correct drill size
Step 2: Cleaning
Blow → Brush → Blow
Step 3: Injection
Fill hole properly
Step 4: Rod/Chemical Anchor Insertion
Insert with rotation
Step 5: Curing Time
Wait before loading
Common Shortcut (Avoid This)
On site, many people:
– Skip cleaning
– Install fast
This saves time… but creates failure.
Dubai, Assam & Delhi Conditions
Temperature affects curing time.
👉 Hot weather → faster curing
👉 Cold weather → slow curing
So always check conditions.
Tools Required
✔ Proper drill machine
✔ Cleaning brush
✔ Air pump
✔ Mixing nozzle
Final Advice
Even best anchor will fail if installation is wrong.
📞 Call before finalizing fasteners
📲 WhatsApp “ANCHOR”