

Most chemical anchor failures on site are installation failures, not product failures. If the hole is dusty, the mortar is badly mixed or the anchor is loaded too early, even Hilti HIT-RE 500 V4 will not reach its rated load. This guide is for site engineers and supervisors installing Hilti chemical anchors in concrete.

What you need before you start
- The right Hilti mortar for the job, for example HIT-RE 500 V4 for heavy loads and rebar, or HIT-HY 200 where faster curing is needed
- Anchor rod or rebar of the size the design calls for
- A hammer drill and carbide bit of the diameter given in the product’s technical data sheet
- A steel wire brush of the right diameter, and a blow-out pump or compressed air
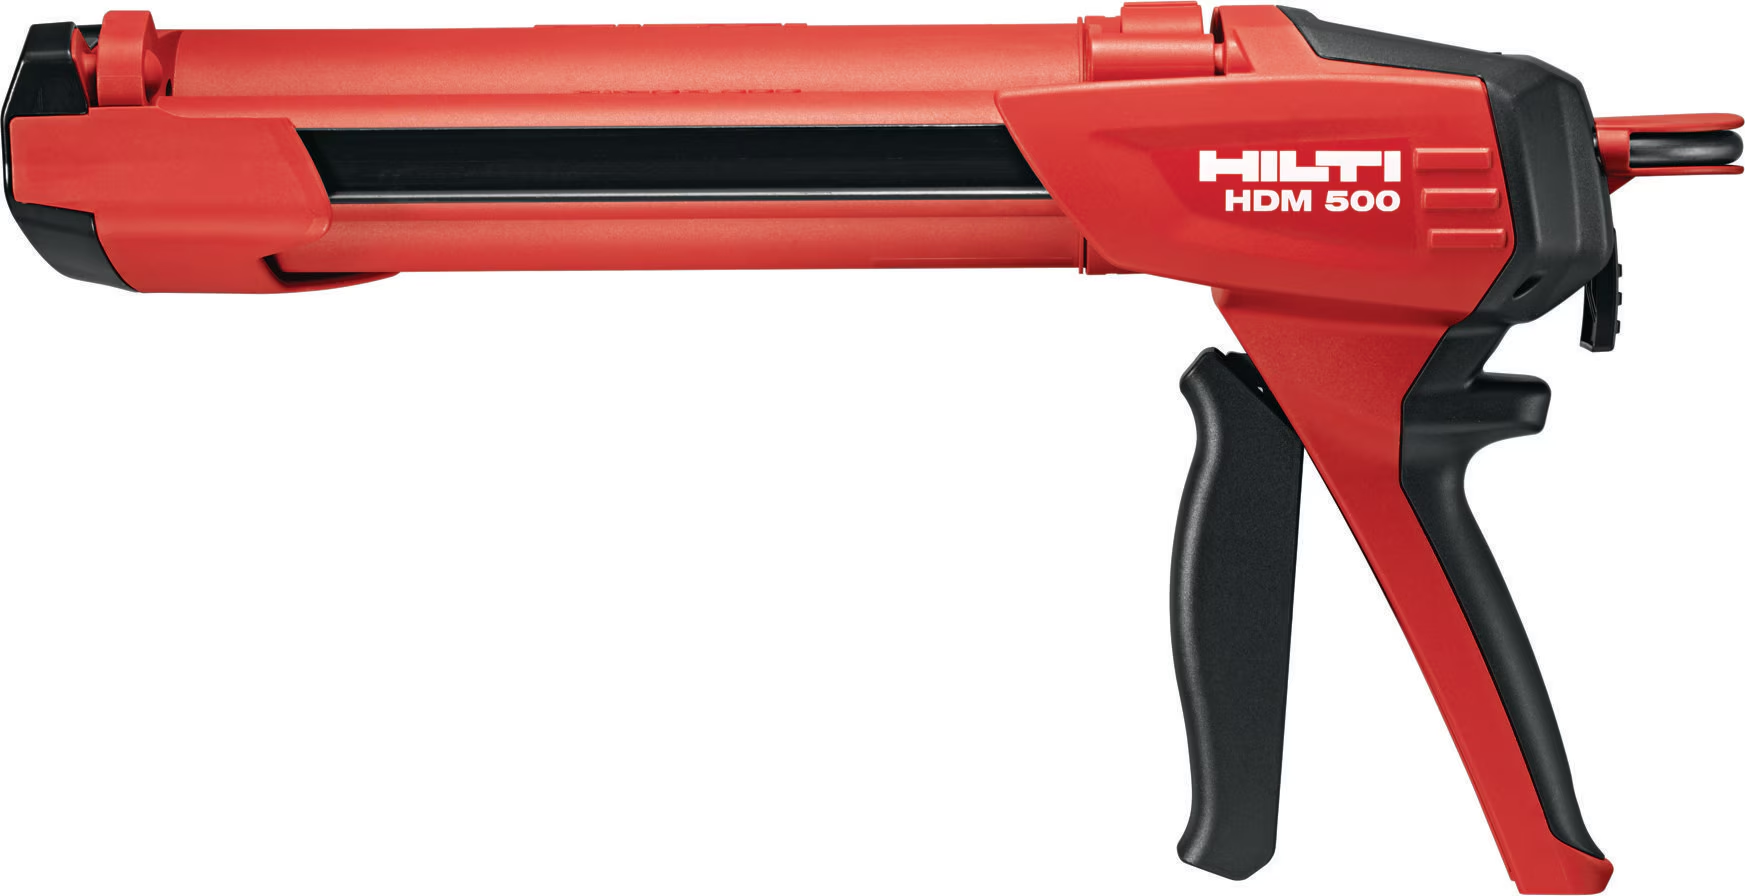
- A dispenser, such as the Hilti HDM manual dispenser, and a new mixing nozzle
Step-by-step installation
1. Drill to the right diameter and depth
Check the bit diameter and embedment depth in the Hilti technical data sheet for your rod size. A hole that is too wide or too shallow cuts holding power. Our post on how drilling accuracy affects anchor strength explains why.
2. Clean the hole: blow, brush, blow
Blow out the dust, brush the full depth with a steel brush, then blow out again. Repeat as many times as the data sheet asks. Dust left in the hole is the most common cause of weak bonding we see on sites.
3. Waste the first mortar
Fit a new mixing nozzle and squeeze out the first strokes until the colour is even. Unmixed mortar never cures properly.
4. Fill from the bottom of the hole
Start at the bottom and fill about two-thirds of the hole, pulling the nozzle back slowly so no air gets trapped. Use an extension tube for deep holes.
5. Push the rod in with a slow twist
Turn the rod gently as you push it to the bottom. A little mortar should come out at the top, which shows the hole is full.
6. Respect working time and curing time
Do not move the rod once the working time is over, and do not load or tighten it before the full curing time. Both depend on the temperature of the concrete and are printed on the cartridge and data sheet. In a Delhi winter curing takes longer; in Dubai’s summer heat the working time gets shorter.
7. Tighten to the specified torque
Use a torque wrench and the value from the data sheet. Over-tightening can break the bond between mortar and rod.
Mistakes we see most often
- Blowing the hole out without brushing it
- Reusing a nozzle that has already started to set
- Loading the anchor the same day to save time
- Drilling with a worn or wrong-size bit
The same rules apply to other brands. See our general guide on how to use chemical anchors and the most common Fischer anchor mistakes on site.
Get the right Hilti mortar for your job
Fasteners King has supplied anchors and fixings since 1979. We are India’s No. 1 Fischer channel partner (5 years in a row) and an Authorised Hilti Channel Partner, with stock in Delhi, Guwahati and Dubai. Browse our Hilti chemical anchors, or send your drawing on WhatsApp and our team will suggest the right mortar and rod.